How to Add LED Lights to a Fidget Spinner – Step-by-Step DIY Guide for Customizing Your Spinner
- Understanding the Basics of Fidget Spinner Modification
- Materials You Need to Add LED Lights
- Step-by-Step Guide to Adding LED Lights
- Tips for a Successful LED Light Spinner Project
- Where to Buy LED Lights for Your Spinner
Understanding the Basics of Fidget Spinner Modification
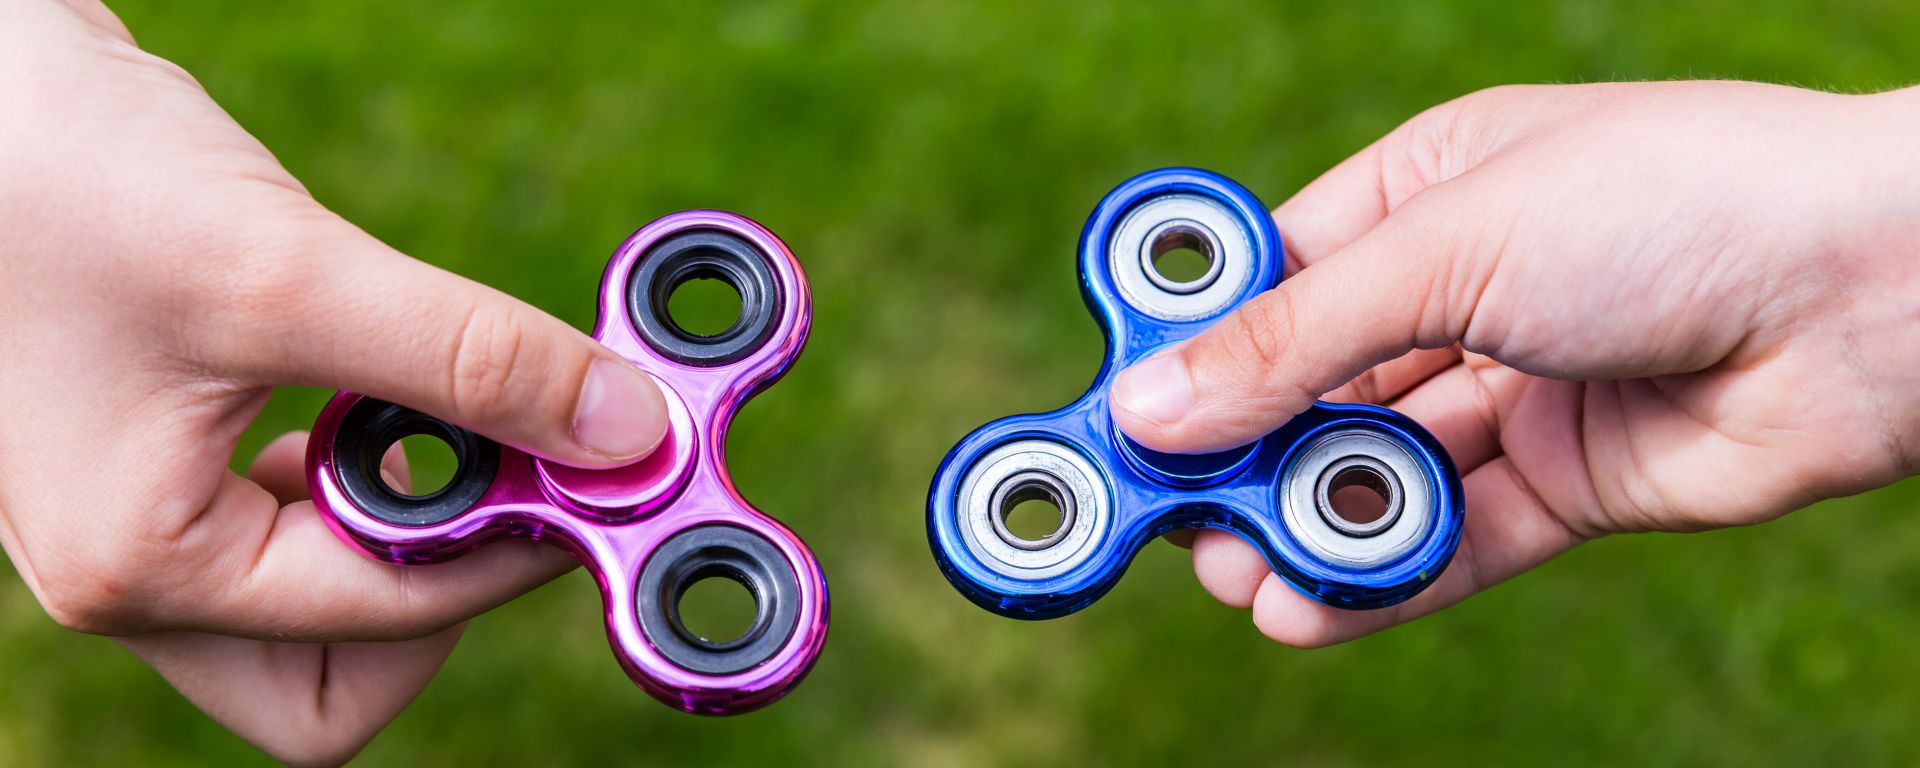
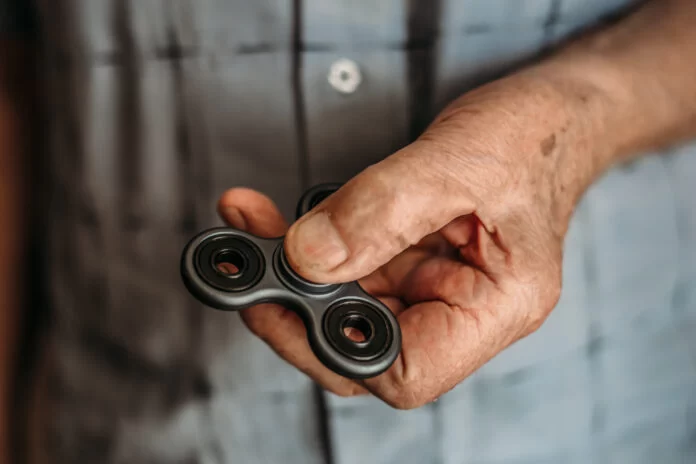
Fidget spinners have become one of the most popular stress-relief toys in recent years. While these simple devices are fun to spin, adding a creative twist like LED lights can make them even more exciting and visually appealing. If you’re wondering how to add LED lights to a fidget spinner, you're in the right place!
In this guide, we’ll walk you through everything you need to know about adding LED lights to your fidget spinner, turning it from a simple spinning toy into a glowing, attention-grabbing gadget. Whether you’re a DIY enthusiast or just someone looking for a fun customization project, this is the perfect way to take your fidget spinner to the next level.
Materials You Need to Add LED Lights
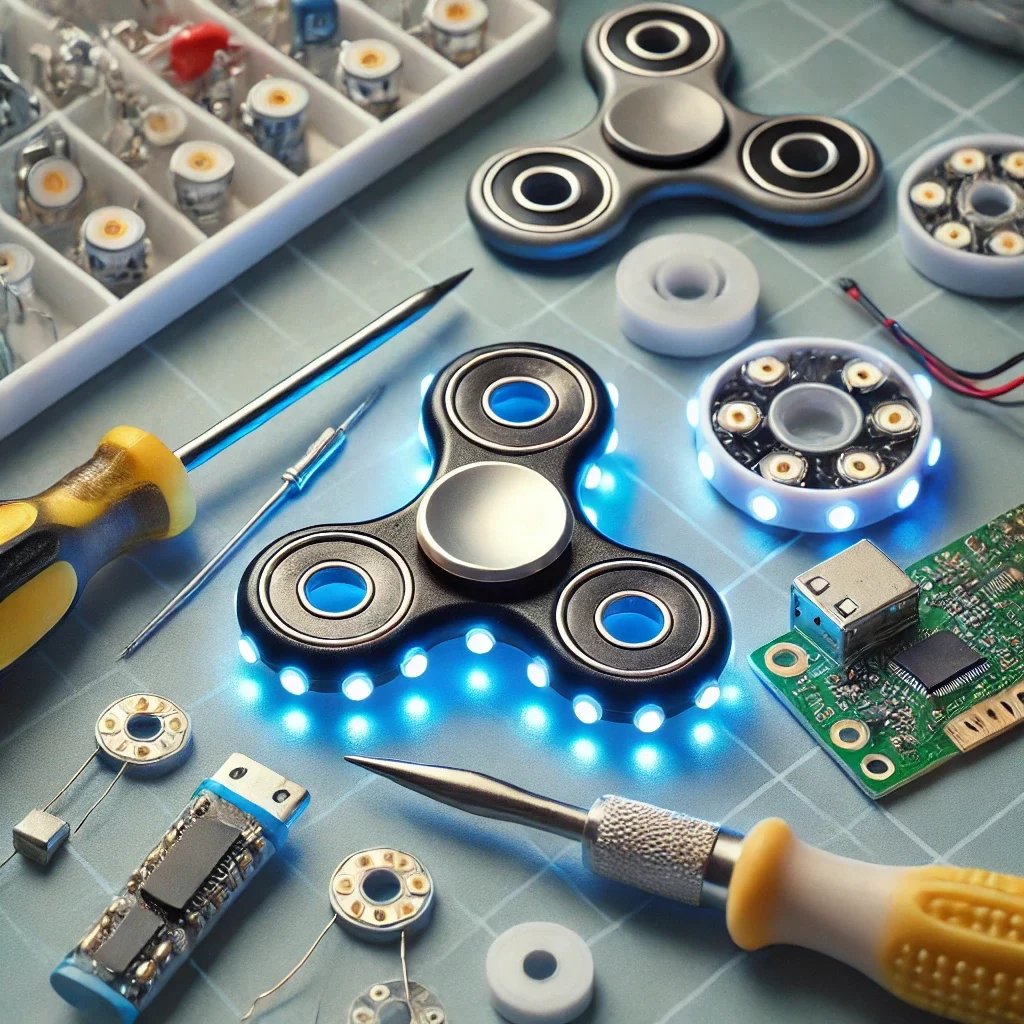
Before you start, you'll need a few materials to help you with the modification. Here's a list of what you’ll need:
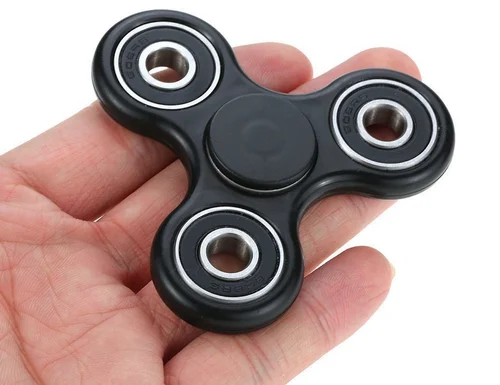
1. Fidget Spinner: Of course, you’ll need a basic fidget spinner to work with. Make sure it’s a design that you can easily modify (preferably a spinner with removable parts).
2. LED Lights: You'll need small LED lights that can be attached to your spinner. You can find these in hobby shops or online. LED strips or individual LED bulbs can work depending on the design of your spinner.
3. Small Battery: Most LED lights require a power source. A small, lightweight battery is perfect for this project. Coin cell batteries or button batteries are common choices.
4. Wires and Connectors: Thin wires and connectors will allow you to hook up the LEDs to the battery. Make sure the wires are thin and flexible, so they don’t interfere with the spinner's motion.
5. Soldering Kit (Optional): If you’re comfortable with it, a soldering iron can help make the connections more permanent. However, this step is optional, as there are other ways to attach the wires.
Step-by-Step Guide to Adding LED Lights
Now that you have the necessary materials, let’s dive into the steps of adding LED lights to your fidget spinner:
Step 1: Prepare Your Spinner
Start by disassembling your fidget spinner if it has removable parts. This will give you access to the area where you’ll install the LED lights. If your spinner is a solid piece, you may need to gently carve out a small space for the lights.
Step 2: Attach the LED Lights
Take the LED strip or individual LED lights and arrange them around the spinner’s center. If you’re using a strip, you may need to cut it into smaller pieces to fit the shape of your spinner. Attach the LED lights securely using small amounts of glue or double-sided tape.
Step 3: Connect the Battery
Next, connect your LED lights to the battery. You can use wires and connectors to link the LED lights to the power source. If you’re using a button battery, make sure the battery is properly secured and that the wires are firmly connected to both the positive and negative terminals.
Step 4: Test the LED Lights
Before putting everything back together, test the LED lights to make sure they light up properly. If the lights don’t work, double-check the wiring and battery connection to ensure everything is hooked up correctly.
Step 5: Reassemble Your Spinner
Once you’ve confirmed that the LED lights are working, carefully reassemble your fidget spinner. Ensure that no wires are sticking out and that everything is securely in place. You’re now ready to enjoy your custom LED-lit fidget spinner!
Tips for a Successful LED Light Spinner Project
Here are some tips to ensure your LED light spinner project goes smoothly:
1. Choose Small, Lightweight LED Lights
Since you’ll be attaching the lights to a spinning toy, it’s important to choose lightweight LEDs that won’t throw off the spinner’s balance.
2. Make Sure the Battery is Secure
A loose battery can disrupt the spinning motion or cause the lights to flicker. Make sure the battery is securely attached and well-protected.
3. Test the Lights Before Final Assembly
Always test the LED lights and connections before finalizing the assembly. This will save you time and effort in case you need to make adjustments.
4. Keep it Simple
While it’s tempting to add many lights, simplicity is often best. A few strategically placed LEDs can provide just the right effect without overwhelming the spinner’s design.
Where to Buy LED Lights for Your Spinner
If you’re looking to purchase the LED lights or other materials for your DIY project, Fidget Spinner is a great place to start. The site offers a variety of fidget spinner accessories, including LED lights and batteries that are perfect for customizing your spinner.
For those who prefer not to build their own spinner, there are pre-made LED light fidget spinners available for purchase. These spinners are designed to give you the same glowing effect without any of the work!
Visit Fidget Spinner now to explore the full range of LED light spinners and accessories to bring your creative ideas to life.

